First of all, before I say anything else, I want to apologize for not posting the DIYs and crafts for a long time! It is not that I have not been doing anything; I have almost made a dozen of crafts and cards and half a dozen of DIY jewellery but did not any click pictures for tutorial! I’ll be sharing all of them with you all soon, but sadly I don’t have tutorials for those.
Today I am sharing a simple DIY with you. I made this one the last monsoon and I am sharing it now! Read on for the detailed tutorial.
I am going to tell you how to make tassel earrings with embroidery floss. It is very simple and anyone can do it. And you will have your custom made tassel earring in a fraction of amount!
So let’s get on with the tutorial!
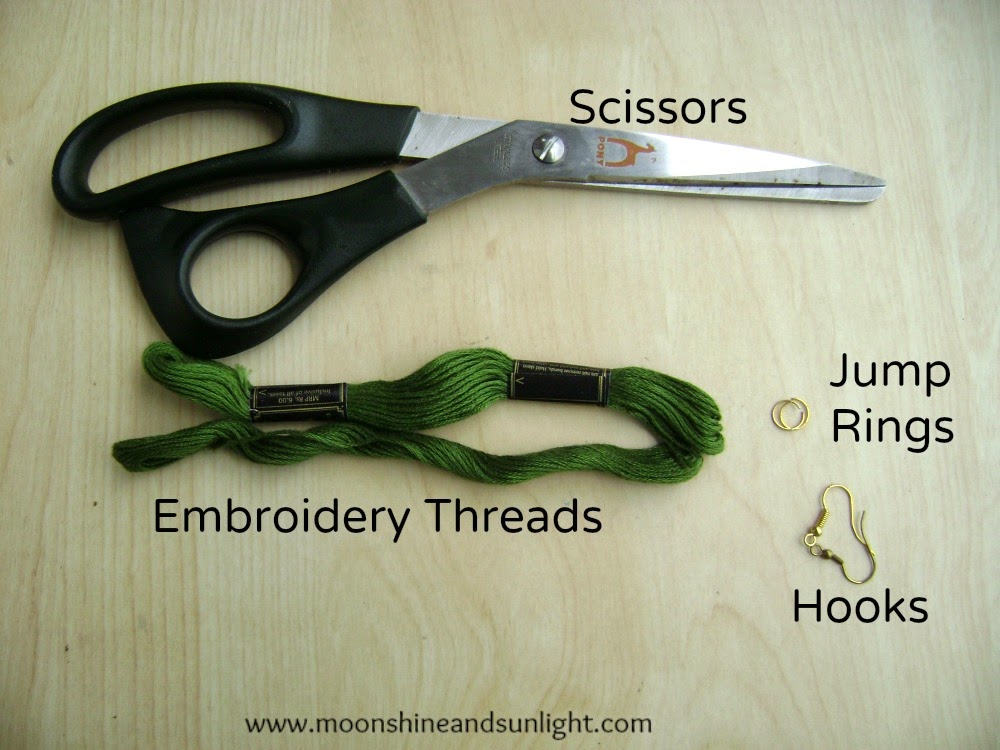
You will need:-
A pair of scissors
2 embroidery floss (same color )
2 jump rings
A pair of earring hooks
Steps:-
 |
| Pin me! |
2) Stretch the floss from point to point , like shown and from the middle point fold it to get a small loop, you can tie it first with the small piece of thread or as I have shown here you can add the jump ring right the top.
3) Then you have to tie the loop of floss at the top (consider it to be the neck of the whole thing) , with the longer piece of the floss and keep wrapping it around till you have the desired result.
4) Add the hook to the jump ring.
5) Now , cut off the bottom portion of the tassel to the length you want with a pair of scissors but keep in mind that the cut must be straight and clean.
6) Comb it with a fine toothed comb to straighten it properly.
And you are done! Voila! You have your own tassel earring in no time! Just follow these few simple steps.
Hope you liked the tutorial and could understand the process properly.Do let me know if you are not able to understand any step an I would love to help you out :D
Stay tuned for more such tutorials.

.jpg)
.jpg)
.jpg)
.jpg)
.jpg)
.jpg)
.jpg)
.jpg)